Congratulations on Your New Home!
One of the features of your new home is a fully automated irrigation system. To ensure its longevity and avoid costly repairs, it's essential to winterize your system before any freezing weather arrives in the fall or winter. This guide provides a simple, step-by-step process to help you do just that.
How to Winterize Your Sprinkler System
Tools You'll Need:
- Flathead screwdriver
- Shovel or simple gardening tools (for digging or trimming if needed)
Steps to Winterize:
1. Locate Your Home’s Irrigation Shut-Off Valve:
This valve is typically near the water meter but can be located elsewhere in your yard. Look for a green irrigation lid covering the valve. During your New Home Orientation, a Flintrock Builders Customer Care Representative will show you the exact location of the valve.
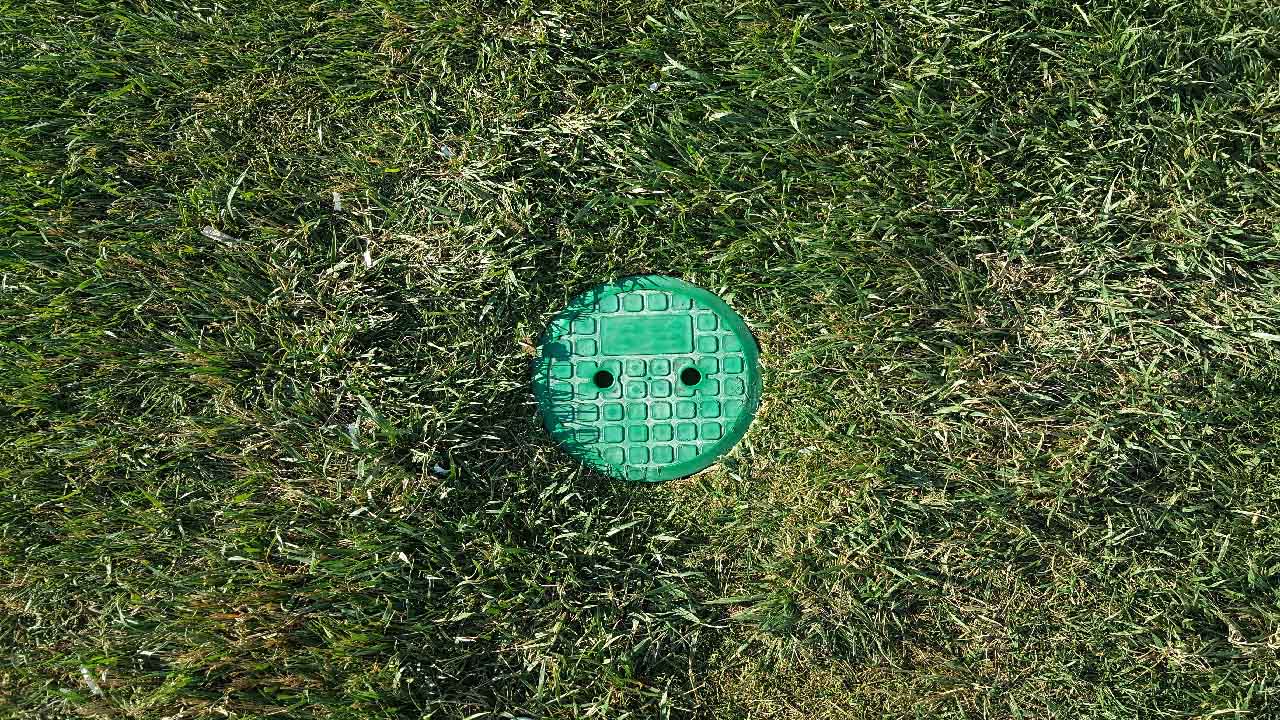
2. Open the Green Lid:
Once you’ve found the irrigation shut-off valve, remove the green lid. You’ll see a blue valve with a white PVC pipe below it. The valve can be in one of two positions:
- Open: Blue valve is parallel to the PVC pipe.
- Closed: Blue valve is perpendicular to the PVC pipe.
For winterizing, ensure the valve is in the **closed** position (perpendicular to the pipe).
3. Identify Your Home’s Backflow:
The backflow device is usually on the side of the house or in the corner of the backyard. It helps prevent contaminated water from flowing back into your home's water supply.
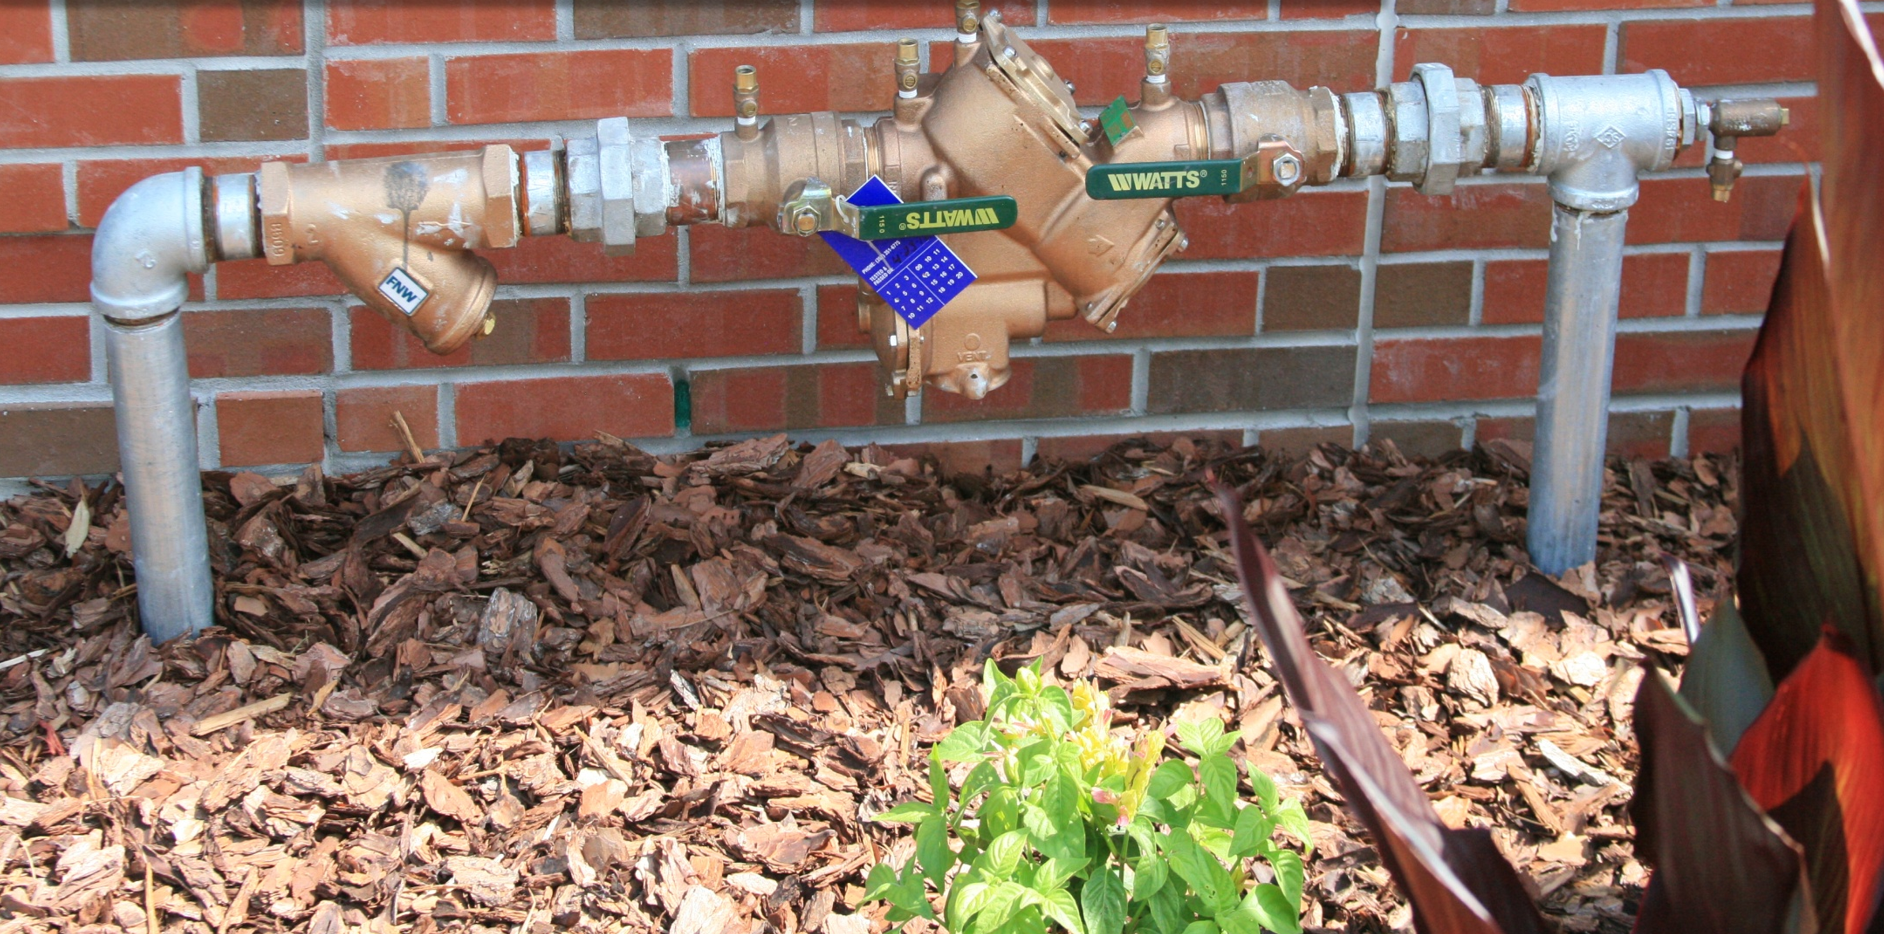
4. Remove the Relief Valve Caps:
There are two relief valves on the backflow, each with a black cap. Carefully remove these caps, making sure not to lose them.

5. Open the Test Clocks to Drain Water:
Each relief valve has a test clock that controls water flow. Use a flathead screwdriver to turn the test clocks to the open position (horizontal alignment) to allow water to drain. This might take up to 15 minutes, especially for larger yards. When the test clocks are open, water will drain out; when closed, water is prevented from draining.
6. Reinstall the Relief Valve Caps:
Once no more water is draining from the relief valves, put the black caps back on.
7. Leave the System in This Configuration for Winter:
Keep the irrigation shut-off valve closed and the test clocks open (horizontal) throughout the winter until there’s no more risk of freezing weather.
8. Turning Your Irrigation System Back On:
When the freezing weather has passed, turn both test clocks to the closed position (vertical). Then, turn the irrigation shut-off valve back to the open position (parallel to the pipe), allowing water to flow through the system again.
By following these steps, you can help protect your new home’s irrigation system from freezing damage, ensuring it stays in good working order for years to come.
Please note: Any repairs or replacements needed for your irrigation system due to freezing weather damage will **not** be covered. Taking the time to winterize your system can save you from unexpected expenses.
For further assistance or unresolved issues, please complete the form below, and a Customer Care Administrator will contact you.